Adding a request action
This topic explains the steps to add a request action to an interaction. To add an action, you can either create a new interaction or use an existing interaction.
- In the left navigation page, click Bots to open the Bots page.
- Click the interaction to which you want to add the action.
The interaction panel expands displaying all actions that you can add.
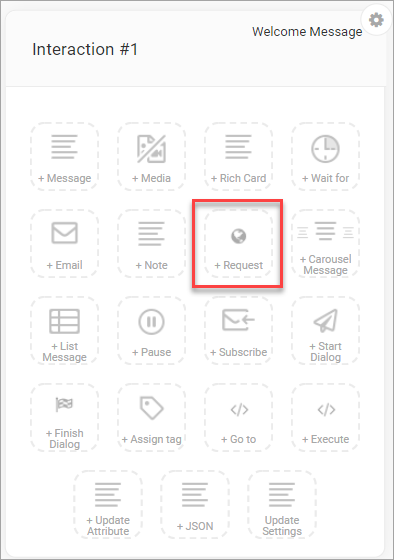
- Click the Request icon to add the request action.
The request action panel opens.
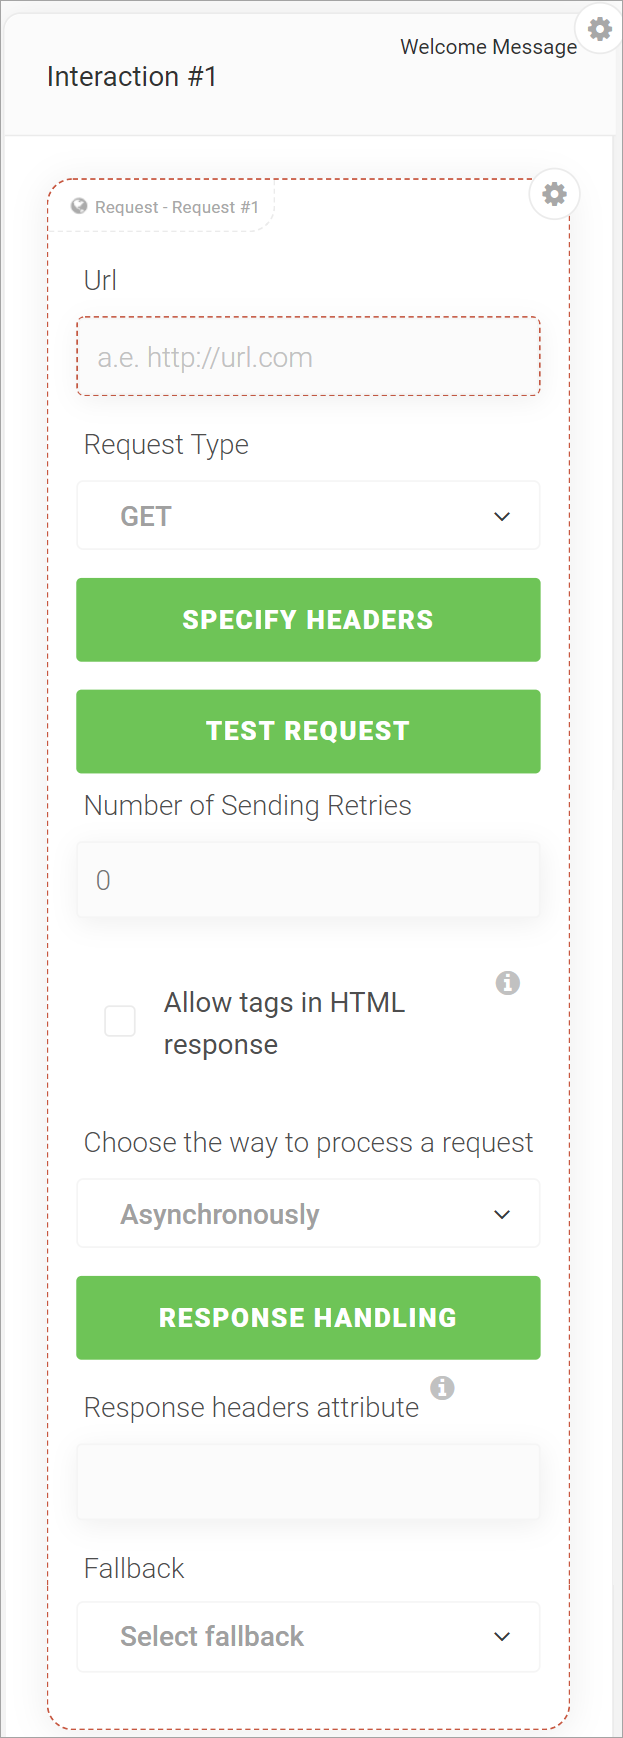
- In the Url field, enter the URL that you want to open when the user clicks the button in the request.
- Select the Request Type from the given dropdown list.
For example, GET, POST, PATCH, PUT, OPTIONS, HEAD, etc.
- Click the Specify Headers button to add headers to the request.
You can specify the headers as JSON objects.
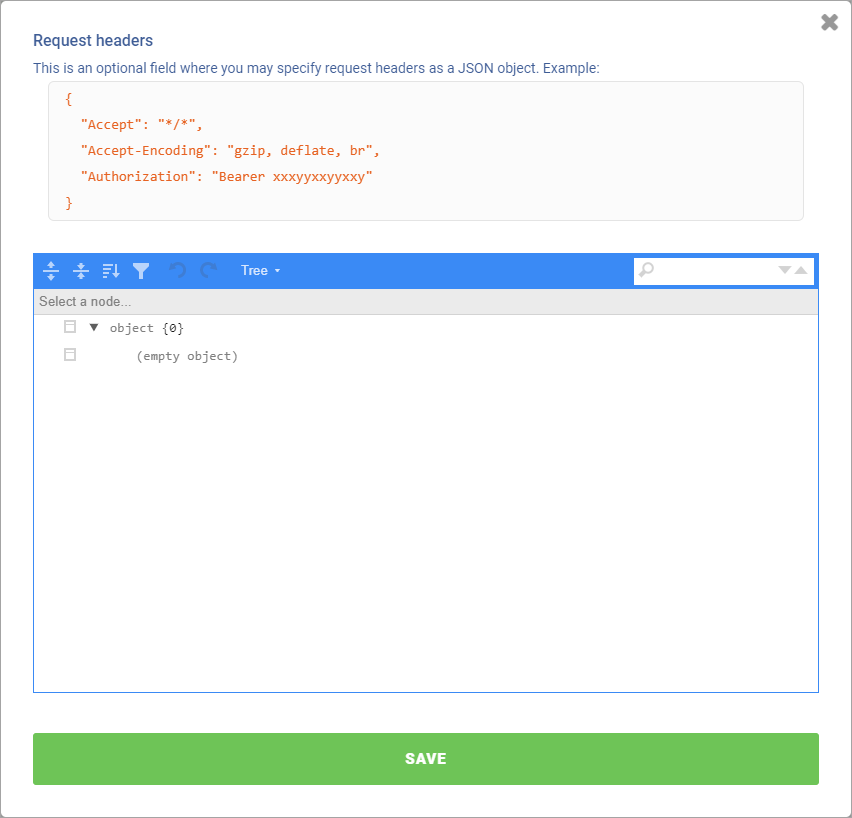
- Add appropriate headers in the request.
- After adding headers, click the Save button.
- Click the Test Request button to test the request for the selected request type.
nativeMsg tests the request and displays the message for successful or unsuccessful execution.
- In the Number of Sending Retries field, set the number for retries for sending the request.
- Select the Allow tags in HTML response check box to allow HTML tags in the response.
For example, tag - {humanAttribute}
- Click the Choose the way to process a request drop-down list and select an option to synchronously or asynchronously process the request.
- Click the Response Handling button.
The Request response handing dialog box appears with the JSON editor.

- Enter the JSON code required for responsive handling.
- Click the SAVE button.
- In the Response headers attribute field, enter the attribute name where the response headers will be stored.
Headers will be accessible as {attribute, header}
- Click the Fallback dropdown list, and select the interaction that you want as a fallback in case of any error in processing the request .
Related Articles
![]()
