
Themes is an option to customize the appearance of the web chat panel, Ads, and RCS Emulator.
The Themes page provides different parameters with default values for the appearance. You can change these default values of all parameters to make the appearance as per the branding requirements.
After setting the parameters, you can save them as a new theme. This can save time in settings the parameters again and again. You can just select the theme and quickly change the appearance.
Saving customization as a new theme
Theme Customization
The following table describes different parameters to customize the theme:
Tables can't be imported directly. Please insert an image of your table which can be found here.
The delay (in milliseconds) that you want to set while typing the message text.The default text that you want to use to appear in the message typing area. Color Settings Size SettingsSet the Web Chat panel size, the font size, the text margins, button font size, and so on. You can set the size in pixel. Video SettingsSet the size of the video play window and auto play mode. Image Settings Font Settings Message Font Settings Input Form Settings Button Settings Quick Replies Settings- Scrollable At Bottom: Scrolls the quick replies at the bottom of the web chat panel above the input message field.
- Stack Aligned To Left: Stack the text aligning to the left side.
- Stack Aligned To Right: Align the text to the right side
- Stack Cleared: Clears the stacking of the quick replies.
Saving customization as a new theme
- On the Themes page customize the theme options as per the requirement.
In the left pane, click Designer and click the Themes tab.
- Click the Save button.
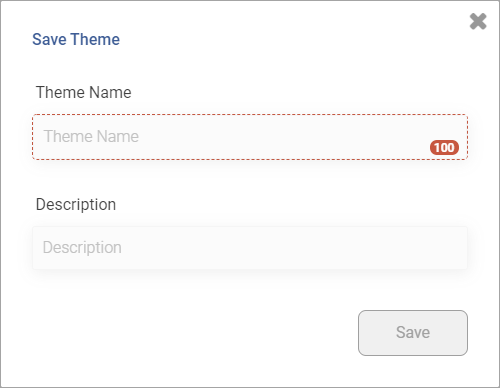
- In the Theme Name field, enter the name of the new theme.
- (Optional) In the Description field, enter the description of the theme.
- Click the Save button.
Note: The Save button is enabled only after entering the theme name.
The new theme is added to the themes list.
Using the saved theme
Once you save your customizations as a theme, you can just select the required theme and use it for the web chat panel.
- Navigate to the Themes page.
In the left pane, click Designer and click the Themes tab.
- Click the Themes button.
The Themes dialog box appears.
- Click the required theme and click the Use Theme button.
The Web Chat panel is updated as per the settings saved in the theme.
Clearing the selected theme
If you want to change the theme for the Web Chat panel, you can choose another theme from the Themes panel. However, you can clear the applied theme and set the default settings to the Web Chat panel.
Note: The Clear button is enabled only if any theme is applied to the Web Chat panel.
- Navigate to the Themes page.
In the left pane, click Designer and click the Themes tab.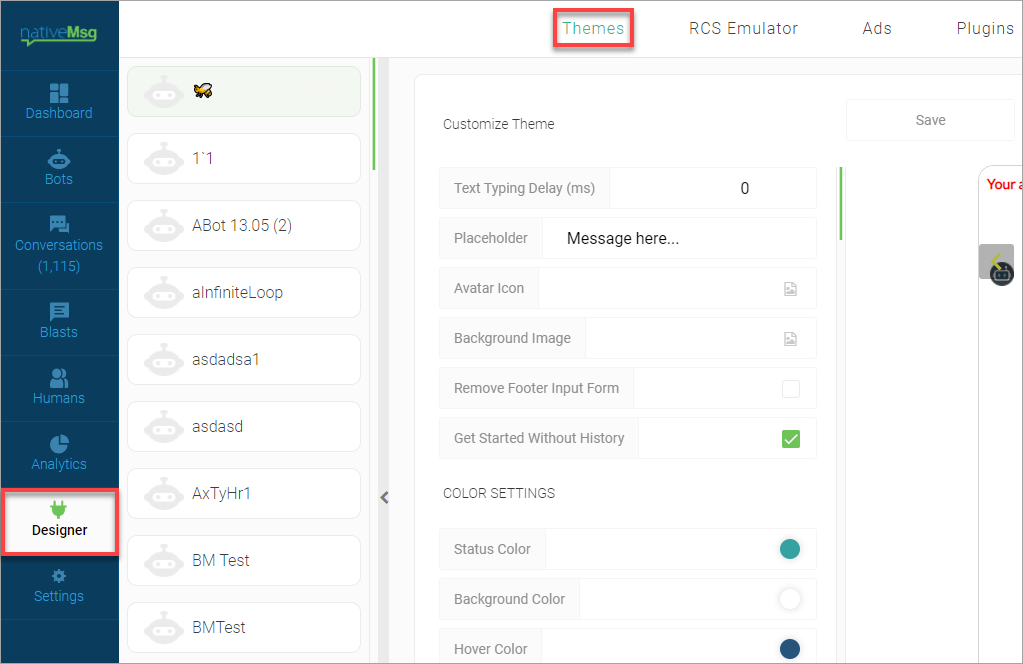
- Click the Clear button.
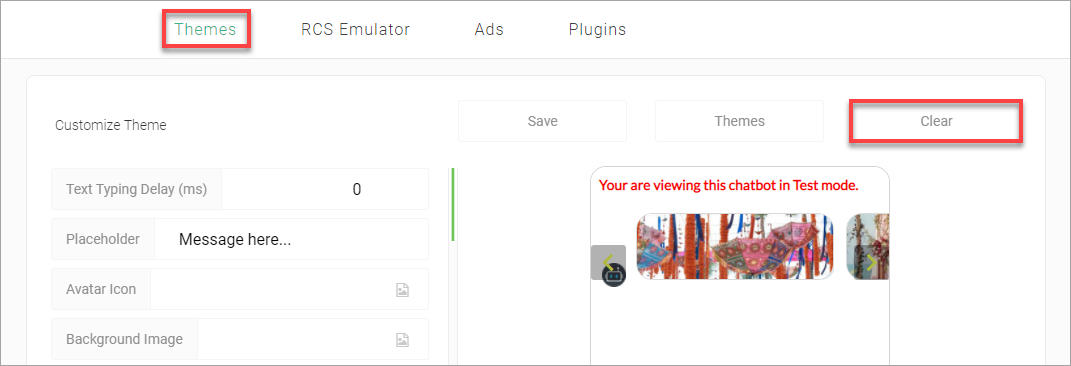
The Web Chat panel is reset to the default settings.
Deleting a theme
You can delete any unwanted themes from the list.
- Navigate to the Themes page.
In the left pane, click Designer and click the Themes tab.
- Click the Themes button.
The Themes dialog box appears.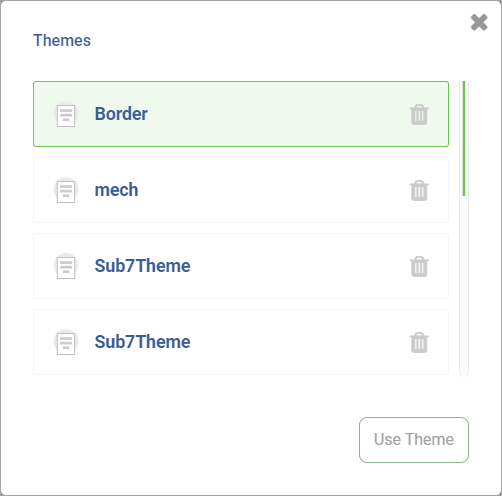
- Click the bin icon.
- In the confirmation dialog box, click the Proceed button.
The selected theme is deleted from the list.